Bookshelf: Books and Documents

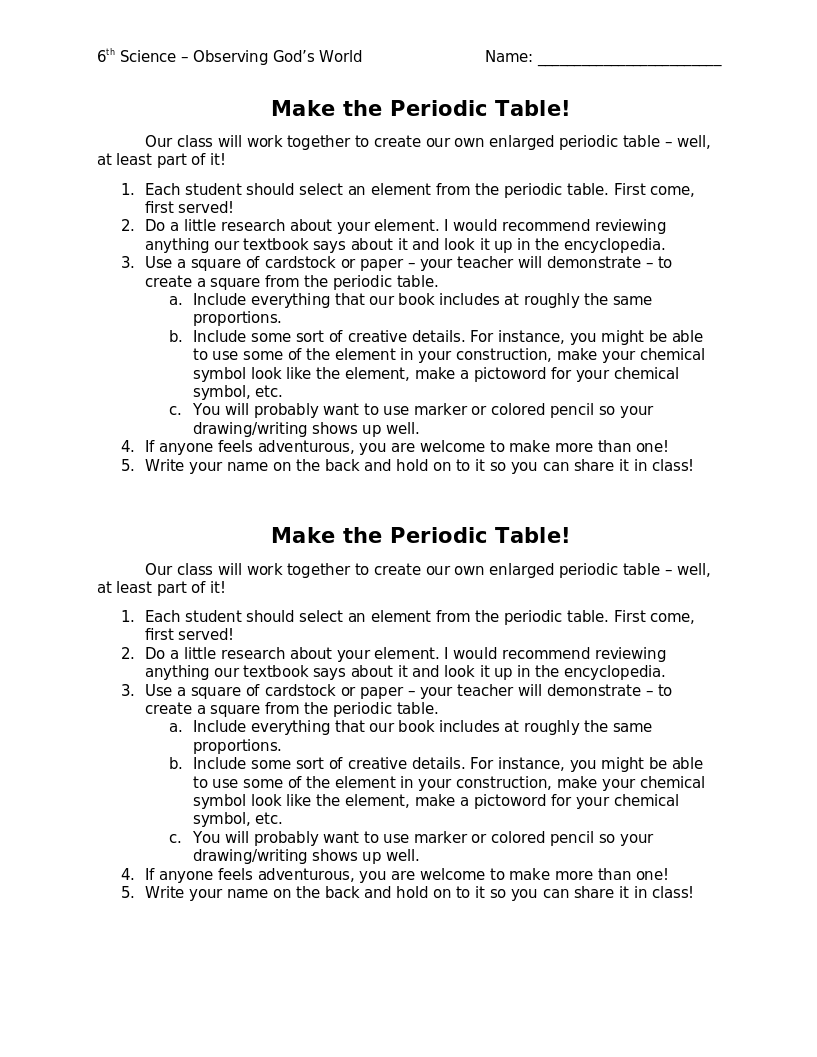
Build-an-Atom sixth grade science assignment

Please pick an element from the periodic table to construct an atomic model of. No repeats are allowed! I would like you to work with 1-2 other students to do this. To keep things relatively simple, no atomic numbers above 20 are allowed, but you will probably want to choose an atomic number less than 10. Do your best to discuss, plan, and divide up tasks. You may use the following materials:
- Whoppers
- Lemonheads
- Spray paint x3
- Fishing line
- Hot glue or pins to bind the nucleus together
- Anything else!
I ask that you make all protons green, neutrons red, and electrons yellow. You can use the spray paint to this effect.
Remember that your nucleus needs to be clustered together in the center of the atom with the electrons circling it.
IMPORTANT: You not only need to include the correct number of electrons but also place them in the correct shells. For simplicity’s sake, let’s all put the first electron shell 8” from the nucleus and the 2nd electron shell 3” beyond that.
Your whole atom should be suspended from the ceiling in some out-of-the-way place of the basement. Next to it, hang a card stating the name of the atom and the number of each subatomic particle.
Image by Gerd Altmann from PixabayThis assignment was stressful, but I do think it was helpful, and the end results were mostly impressive. The main issues were…
- Painting all those Whoppers. Having Gumballs/Fireballs that we wouldn’t have to paint would be really helpful.
- Getting the Whoppers to cohere together was challenging, although the hairnets really helped.
- High atomic numbers were challenging. I wouldn’t recommend using any atomic numbers over 6-8 max to reduce the number of electrons required.
We also might try to size/scale/space the particles more accurately. In reality, the electrons would likely be much further from the nucleus.


High School Spanish Curriculum Reviews

Esther Swartzentruber is instructional coordinator at Faith Mennonite High School and has experience teaching high school Spanish. The following outline offers some of her insights and perspectives on Spanish language curricula.
A few general thoughts:
- No matter the curriculum, I have found that it absolutely does not work to teach language as a half-credit. Language learning courses must be full credit courses and meet every day. Daily exposure is vital to language-learning success.
- Second, students absolutely must commit to memorizing vocabulary on their own and practicing Spanish outside of class every day (10+ minutes per day).
- Third, curriculum does not teach languages; teachers teach languages. Preferably teachers who have clear memories of their own language learning experiences, and who have a clear understanding of the methods and approaches used by their instructors.
- Yes, “spoken-language first” approaches sound amazing! I have seen aspects of that teaching style used to greater or lesser effect. I think what's important, if such an approach is used, is to directly explain that you will be using that teaching method. I have been in college-level language classes where students were unaware that the instructor was using that approach (at least partially), and basically just checked out. Many times in the high school classroom, I used *parts of* this approach where once a week or once a month the entire class was Spanish only, and students had to use context clues to follow along and participate. There is a certain subset of students that can be resistant to that approach unless you coach them through your method and help them find confidence for total language approaches.
Regarding curriculum:
BJU 2018 3rd edition
Pros
- Clear learning objectives at the beginning of every chapter
- Self-evaluation forms at the end of every chapter so students can rate themselves on mastering the objectives
- Organized vocabulary lists at the end of every chapter
- Oral listening exercises, with a number of Spanish voices/accents, so students get used to listening to and responding to native speakers. (These exercises move toward that total language approach, but students should be coached in these in the beginning. May function better as whole class exercises.)
- Helpful verb charts and rigorous activities
- Cultural articles
- Catechism and Bible verse instruction
Cons
- Assessments – the 2018 edition got rid of quizzes, and only includes massive end-of-chapter tests. These tests regularly include vocabulary that students have not learned. Teachers have to be vigilant in choosing/eliminating test questions/sections. (It worked this year for our teacher to break up these tests and use them throughout the chapter.) Also, the tests are insanely long. Could take some students 1 to 2 hours.
- With the BJU curriculum, it’s important to prompt vocabulary retention by requiring a weekly vocab quiz, separate from the curriculum. Students have to memorize vocab, separate from regular quizzes/tests/assessment.
- Instruction on the alphabet, vowels and consonants, and classroom phrases are hidden in the introduction. A wise teacher will create stand-alone lessons around these on the first few days of classes.
Abeka 2021 edition
Pros
- Clear alphabet, vowel and consonant, and syllabication instruction at the beginning of the course, with great activities
- Geography articles
- Bible verses, etc.
- One book approach (no separate activities manual, like BJU)
Cons
- Weird textbook layout with vocabulary on one page, and the picture of the object on the second page/spread, without it being labeled (?)
- Mind-numbing prescriptivist language activities that euthanize the joy of language learning, a la Abeka English grammar
Image by Florida-Guidebook.com on Unsplash
Learning to Read
Learning how to read is based on a few cornerstones.
- Develop auditory skills. A student must be aware that words are made of individual sounds (phonemes). Before you teach children how to blend sounds, they must be able to hear the individual sounds in words. This means you teach “finger-spelling” before you teach blending. This is an oral drill. Make a list of ten words every day for the first two weeks of school: mat, cat, big, sun, Ted, fine, lake, etc. The teacher says mat. The students repeat mat and then break the word apart /m/, /a/, /t/, while holding up a finger for each sound. The teacher says fine. The students repeat fine and then break the word apart: /f/, /long i/, /n/, while holding up a finger for each sound. At first, this is difficult for many, because they are not used to breaking words apart into individual sounds. Throughout the second, third, and fourth months of first grade, once students have succeeded with three-letter blends, increase the difficulty to four- and five-letter blends (bent, drive, plant, etc.). Success in this auditory exercise lays the foundation for pointing to individual sounds in a word, saying them, and blending them together.
- Review. Learning how to blend and read words takes much more review than most beginning teachers realize. Consider how you learned to drive a vehicle; the intensity of focus it took and the incredible amount of practice it took until you could drive a car while carrying a conversation (multi-tasking). A child who can fluently sound out words and comprehend them is multi-tasking, which is a very high-level process. Teachers must drill the sounding out and blending process again and again until it becomes automatic. Whole class exercises build fluency. Sound out and blend word lists chorally. Model what it sounds like to break apart a word and blend it together, then repeat it faster several times.
- Review flashcards until competency is reached. Often teachers switch out words in their flashcard pack too soon. Students should be able to read the words on flashcards and phrase cards fluently before the cards are “put away.” This will likely mean having two flashcard sessions a day. Several shorter sessions are better than one session that lasts too long.
- Develop fluency before comprehension. The key in first grade is teaching students how to read fluently. Drill. Drill. Drill. Blend. Blend. Blend. Review. Review. Review. Any word lists or word boxes that students are asked to read individually to the teacher should be practiced chorally with the class at least two to five times before students read them individually. (These lists are provided daily in Christian Light’s Learning to Read curriculum.)
- Use pre-reading strategies for comprehension. Before starting a reading class, the teacher should introduce the main characters. Do students know if they are boys’ or girls’ names? Draw stick figures on the board to represent the characters and ages of the main characters. What is the setting—similar to what children see out the window or something vastly different? Students need a mental picture and framework out of which to read. Help students make predictions from the title or the picture in the story as to what might happen. When understanding the setting, characters, and possible outcome, students can read more competently. They may have made a wrong prediction which is okay, but at least they are thinking. They are not just reading in a void but are following a journey. Tossing a story to children and saying ‘read’ without prepping them is like tossing them into a pool and saying ‘swim.’
- Ask questions intermittently while reading, beginning in the primers. If students read a story about a wagon going downhill…a few questions such as What were they riding? Which direction are they going? Can you picture this? Would it be scary? Would it be fun? This continues to engage pupils and bring back the “wandering” and it builds comprehension.
Two key predictors of learning to read success are 1.) phonemic awareness and 2.) letter-sound fluency. If after several weeks, when a student has been drilled daily with others in phonemic awareness and letter-sound fluency but continues to struggle in these two areas, this may be an indicator of a learning disability that needs to be addressed with one-on-one tutoring, more strategic teaching, or tailored lessons.
Resources I’d recommend:
- Learning to Read from Christian Light is thorough, has a consistent review system built in with a variety of seatwork, and takes an incremental approach to the phonics program.
- Anna Zehr’s Teaching Reading Class at Summer Term at Faith Builders. We underestimate the complexity of the learning to read process and often poorly equip our young novice teachers.
- The Fluent Reader by Timothy Rasinski. You can listen to him speak online as well. He is a highly proficient and seasoned reading teacher.
- The sound slider from Christian Light. All first-grade teachers should use this tool daily.
- Victory Drill Book available from Christian Light or Christian Learning Resource. As soon as Learning to Read is finished we continue our daily word drills with one-minute timings from a page in Victory Drill working our way through. I’d be happy to explain more of this process.
- Training Sessions
- Each summer, Christian Light offers a week of training specifically geared to teaching the Learning to Read course.
- Faith Builders offers a first-grade learning-to-read track at Teacher’s Week in August.
- Find a seasoned first grade teacher in your local community and “sit at their feet” for a year, before diving in and teaching first grade cold turkey.
- Heggerty Phonemic Awareness (primary level-yellow book). This program is a twelve-minute a day program of breaking words apart, listening for rhyming words, putting syllables together; exercises that build reading fluency. This year, I’ve added it to my learning to read class and am delighted at the strength it is adding to our phonics program.
Image by Josh Applegate on Unsplash
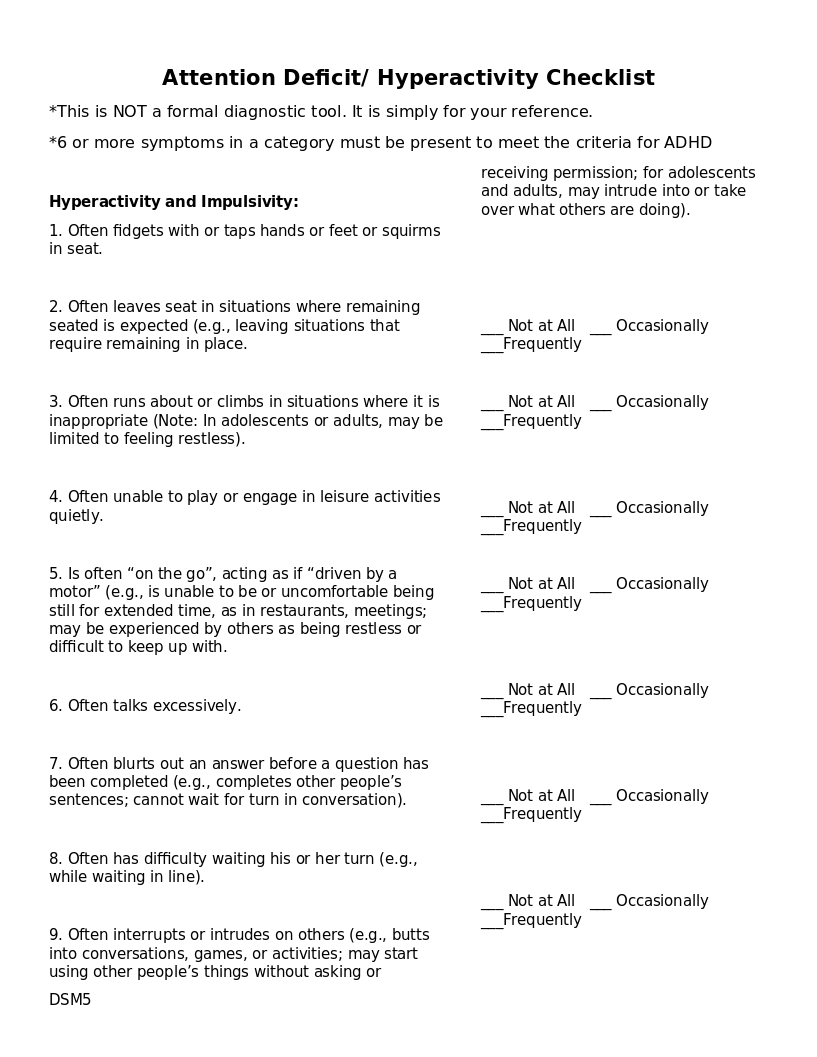
ADHD Checklist
This checklist is similar to what a doctor would give to parents and teachers to assist in determining an ADHD diagnosis. It is not a formal diagnostic tool in itself. The front is for the hyperactive/impulsive type of ADHD; the back is for the inattentive type of ADHD (formerly known as ADD).
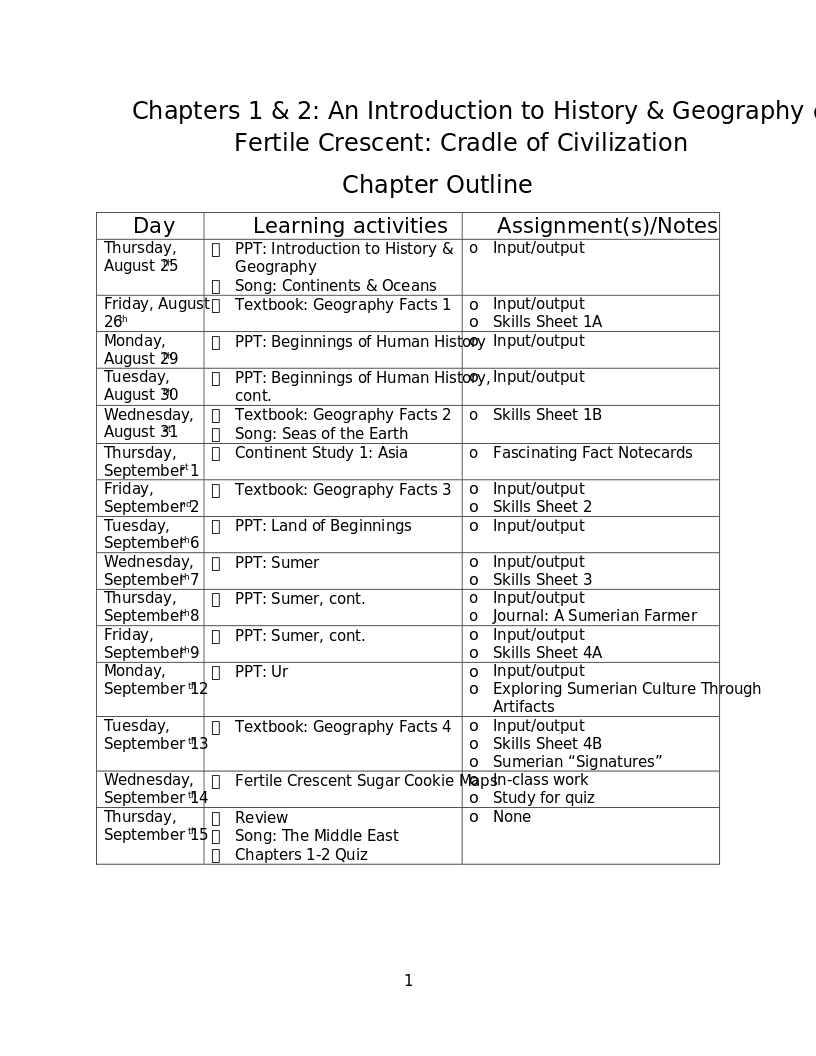
Outline for Abeka 5th History and Geography - Fertile Crescent: Cradle of Civilization
This outline provides a structure for teaching chapters one and two of Abeka's Old World History and Geography. Page 1 suggests a timeline for teaching the content. Pages 2 - 5 contains a study guide for the students. Pages 6 - 8 contain further explanation on using the study guide as well as detailing the projects and the related activates given on page one.


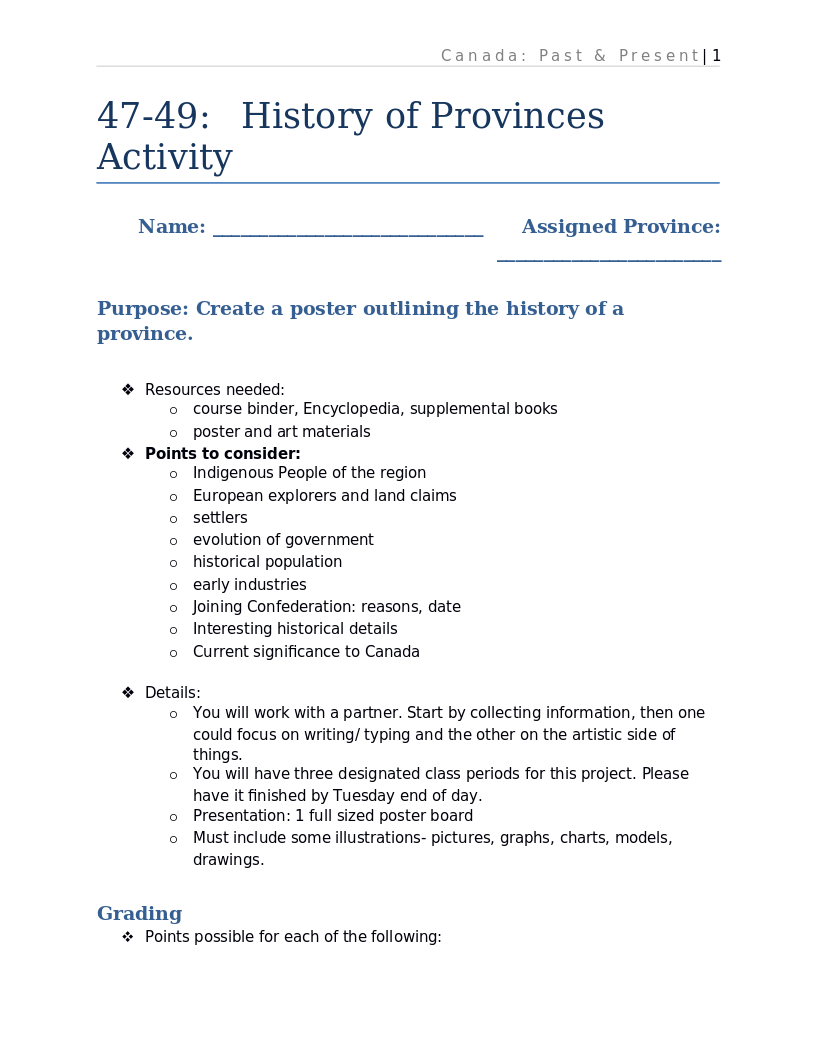
History of Provinces Activity
Students will collaborate to create a province history poster using resources like course binders, encyclopedias, and art materials. The assignment involves exploring aspects such as Indigenous people, European exploration, government evolution, historical population, and early industries. Working in pairs, they will have three class periods to complete the project, aiming for a finished full-sized poster board presentation that includes illustrations, graphs, charts, models, and drawings.
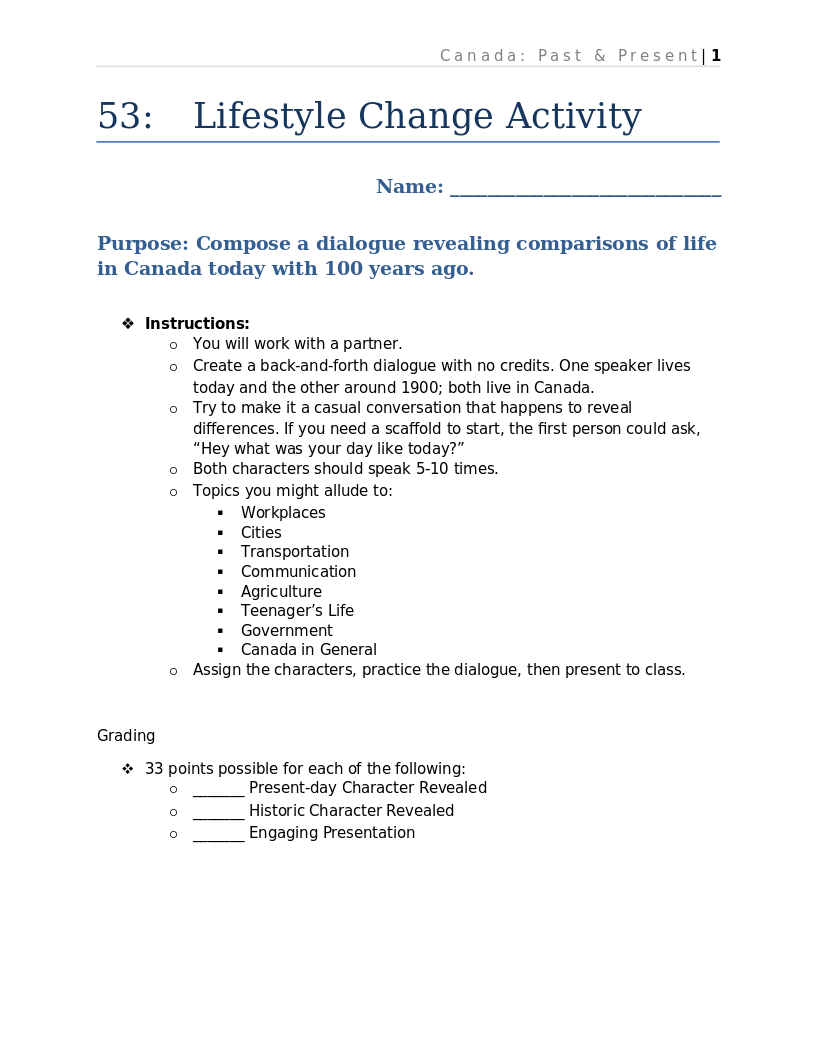
Lifestyle Comparison Dialogue Activity
Students will collaboratively engage in the "Lifestyle Change Activity," where they create a dialogue comparing life in Canada today with that of a century ago. Working with a partner, they craft a casual conversation between a contemporary individual and one living in 1900, covering topics such as workplaces, cities, transportation, communication, agriculture, teenager's life, government, and Canada in general.

Canadian History Timeline - Part 2
This activity is the second assignment in a two-part timeline activity. In this assignment, students assemble the information they gathered in Part 1 and create a poster board timeline.Link to Part 1
Canadian History Timeline - Part 1
This activity is the first assignment in a two-part timeline activity. In this assignment, students gather information to be used in the second part of this activity.Link to Part 2